Note: Users can be organized into groups to help streamline the enrollment process. (The functions for creating and editing a group may also be accessed from the Enrollment Tab.)
Create a Group
- Click on Admin Settings located toward the top-left corner of the screen
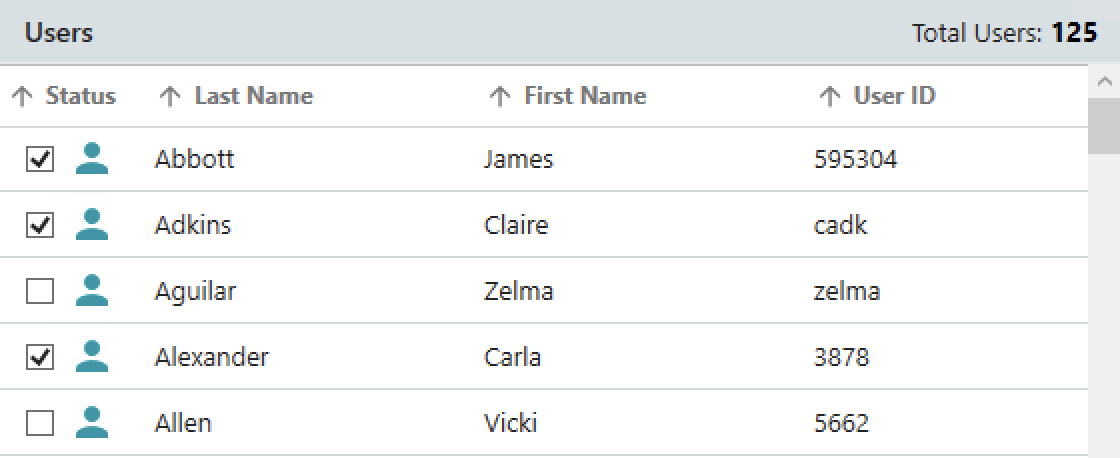
- In General Settings, click on Manage Groups. (The Manage Groups window will appear that includes a list of all users)
- To create a group, click the check box next to the name of each person you would like to include in the group

- Click Save
- Enter a name for the new group, click Save Group

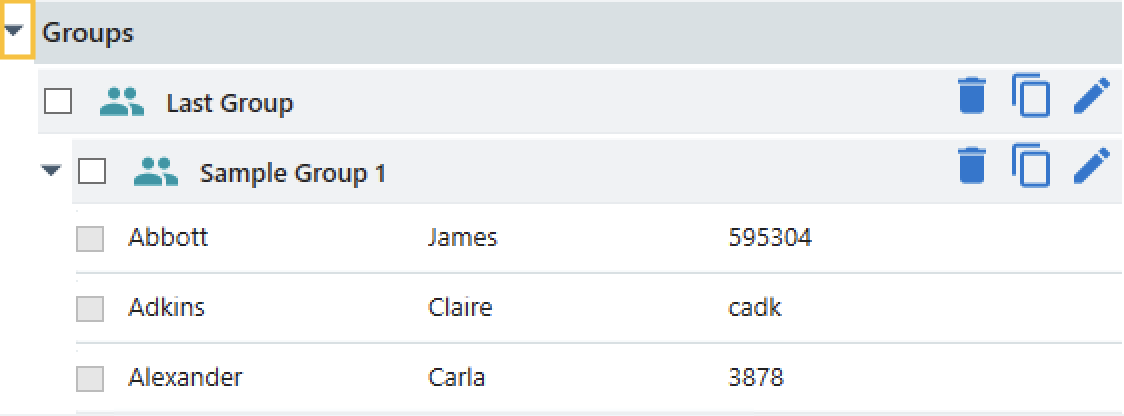
- You will be returned to the Manage Groups Window. The group will be listed under the Groups heading.
Edit a Group
- Click Admin Settings located toward the top-left corner of the screen
- In General Settings, click on Manage Groups (The Manage Groups window will appear that includes a list of all users)
- Click the arrow icon next to the Groups listing in order to see the available groups

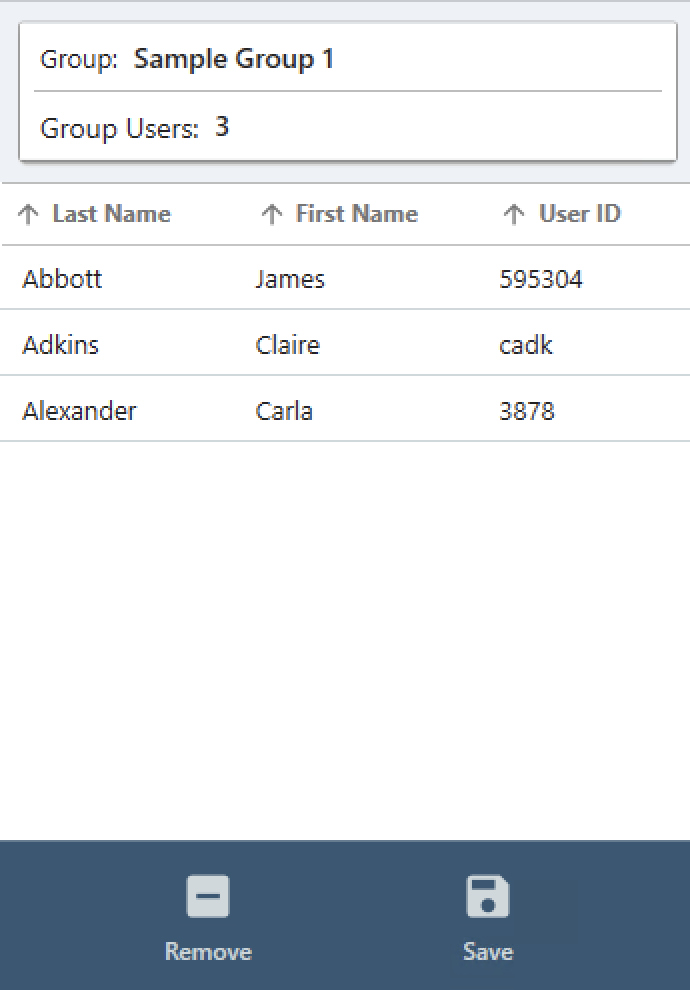
- Select the check box next to the specific group you would like to edit. A list of all the users in the group will appear toward the right side of the window
- To remove a user from a group, select the name of the person you would like to remove from the group, and then click the Remove button

- To add a user to the group, select the check box next to the name of a person in the user list
- Click the Save button to save changes
- Type in the name of the group, and click the Save Group button. If you choose to retain the original name of the group, the new group will overwrite the previous version. If you provide a new name, both the original and the updated groups will be retained.
Delete a Group
- Click on Admin Settings located toward the top-left corner of the screen
- In General Settings, click on Manage Groups (The Manage Groups window will appear that includes a list of all users)
- Click the arrow icon next to the Groups listing in order to see the available groups
- Click the Remove Group button next to the group you would like to delete, and then confirm that you would like to delete the group

Copy a Group
- Click on Admin Settings located toward the top-left corner of the screen
- In General Settings, click on Manage Groups (The Manage Groups window will appear that includes a list of all users.)
- Click the arrow icon next to the Groups listing in order to see the available groups.
- Click the Copy Group button next to the group you would like to duplicate

- Type in a new unique name for the group and click the Copy button
- You may then add or delete users from the new group
Rename a Group
- Click on Admin Settings located toward the top-left corner of the screen
- In General Settings, click on Manage Groups (The Manage Groups window will appear that includes a list of all users)
- Click the arrow icon next to the Groups listing in order to see the available groups
- Click the Rename Group button to give the group a new unique name

- Type in the new name for the group, and click the Rename button